方法
brew で heroku をインストール
brew tap heroku/brew && brew install heroku
command not found になった場合
自分の場合はbrew実行時に以下のエラーが発生しました。
% brew tap heroku/brew && brew install heroku
zsh: command not found: brew
以下の記事を参考にトラブルシューティングしていきます。 【M1 Mac】zsh: command not foundと出た時の解決策。 - Qiita
まずはbrewのインストールを行います。
% /bin/bash -c "$(curl -fsSL https://raw.githubusercontent.com/Homebrew/install/HEAD/install.sh)"
完了後、パスを通していきます。
~/.zshrc に以下を追加。
export PATH=/opt/homebrew/bin:$PATH
source ~/.zshrc
再びチャレンジ
brew tap heroku/brew && brew install heroku
その後、 heroku login ができるか検証します。
% heroku login
 ›   Warning: Our terms of service have changed:
 ›   https://dashboard.heroku.com/terms-of-service
heroku: Press any key to open up the browser to login or q to exit:
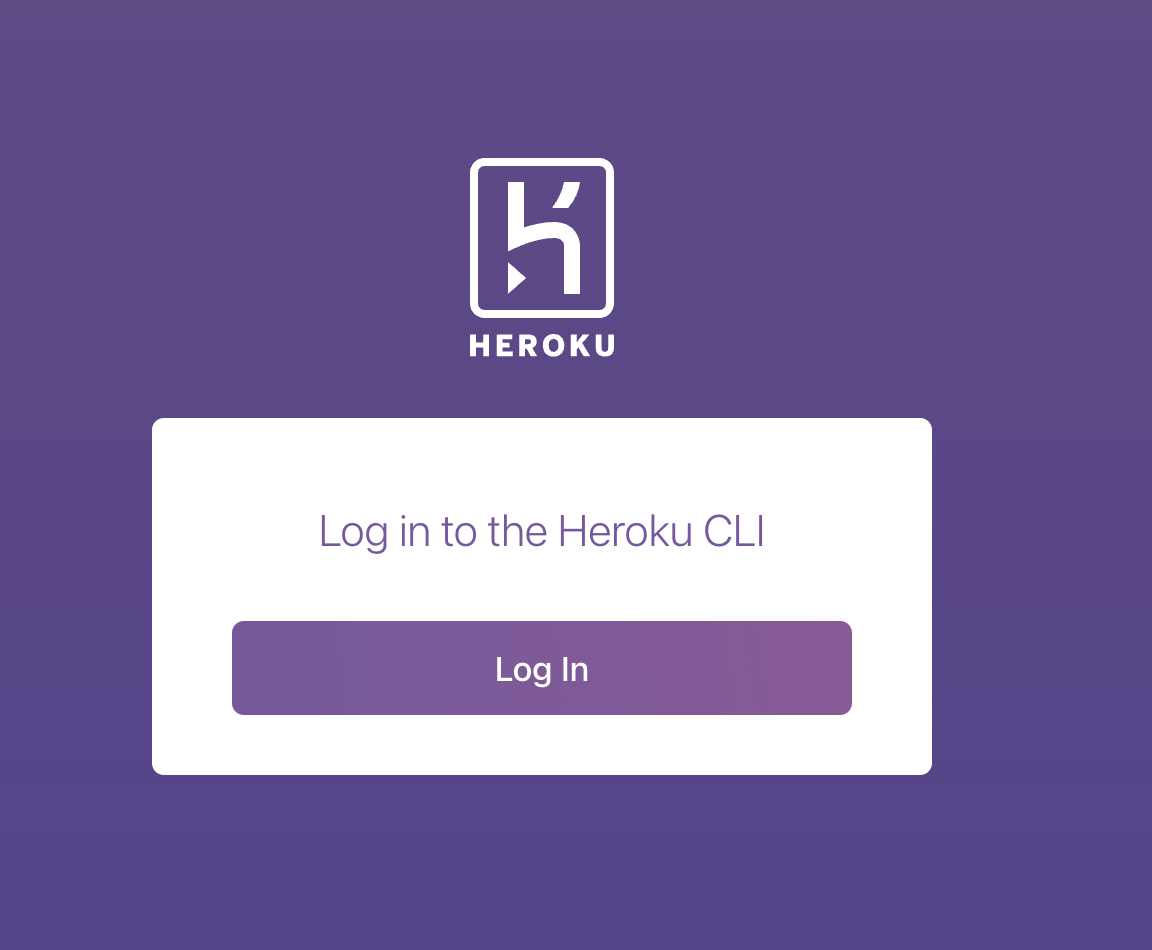
任意のキーを押すとブラウザが立ち上がり、以下の画面に遷移します。

後はサインイン or サインアップすれば使用可能になります。
